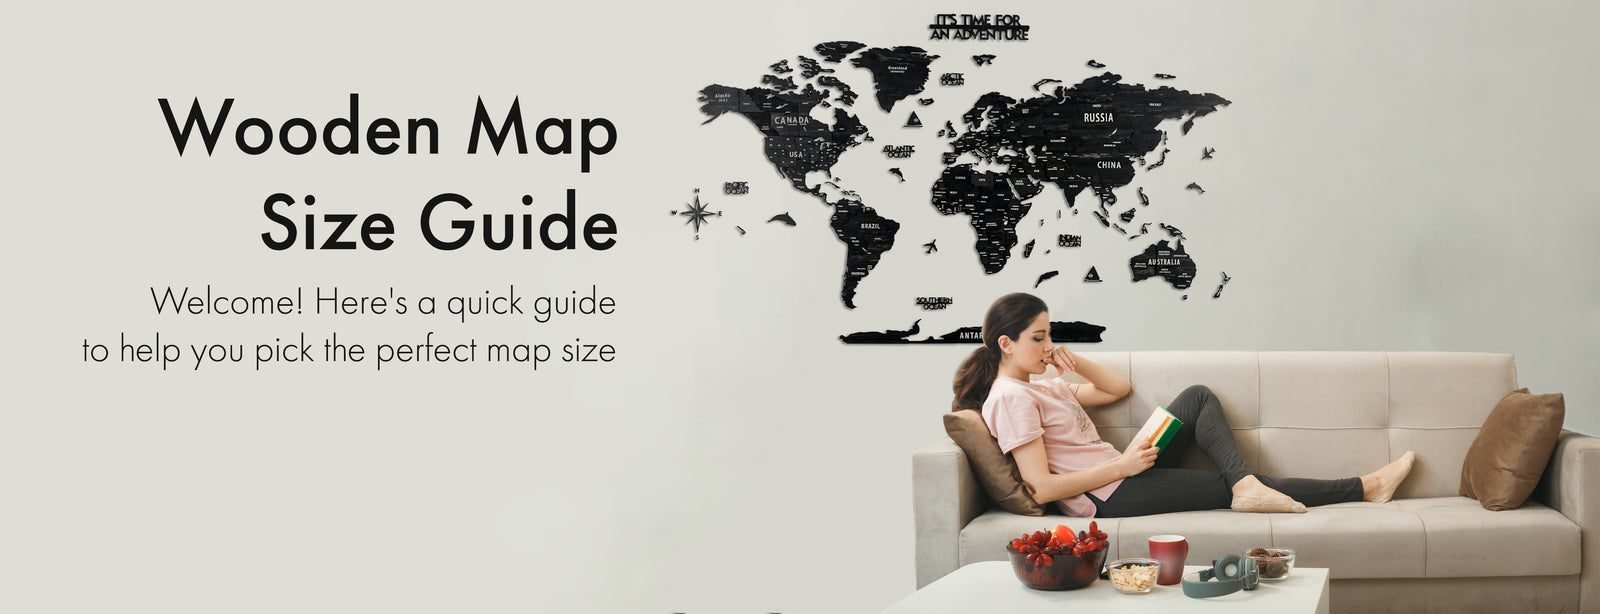
Wooden Map Size Chart

Quick Tips For You

Where will your world find its space?
Choose the ideal location on your wall for your world. Ensure a flat and smooth surface for the best display.

Make sure its clean!
You've picked the place; next step? Prep! Clean, dry, and smooth the surface for the perfect display.

Measuring for a Perfect Map Fit
You've chosen the spot and cleaned it. What's next? Time to measure! Ensure your map fits just right and visualizes beautifully.

Utilize The Stencil
Make use of the stencil paper provided to outline the area on the wall where your map will be placed. The stencil will help you visualize the space your map will occupy and ensure accurate placement. Carefully tape the stencil to the wall, ensuring it's level.

Prepare The Map
Now that you have the outline ready, prepare your map by applying the double-sided tape to the back of each map piece. Make sure the tape is well adhered to prevent any future shifting or falling.

Arrange Map and Unpack Additional Decor
With the stencil as your guide, position your map pieces, aligning them with the outlined area. Press firmly on the taped areas for a strong bond. Remove the stencil, place the additional Antarctic and other decor around the map, then step back and enjoy your newly decorated space!


